

Hi, NZXT Community!
Kendal here, Editorial Copywriter at NZXT! Now that I’ve built my very first gaming PC, I’m diving headfirst into the world of keyboards. This time last year I didn’t know you could customize a keyboard yourself, or replace switches, keycaps, etc. on a board you may already own.
When it comes to my setup, I already own two mechanical keyboards. The first was what I would call very “clicky” and not the smoothest during use. I found that it was noisy regardless of how hard I typed, anytime a key was moved it made a noise. It also picked up a lot on my streams and while gaming with friends, which made me swap it out for a quieter keyboard that I could use every day without getting annoyed by how loud it was.
Down the Keyboard Rabbit Hole
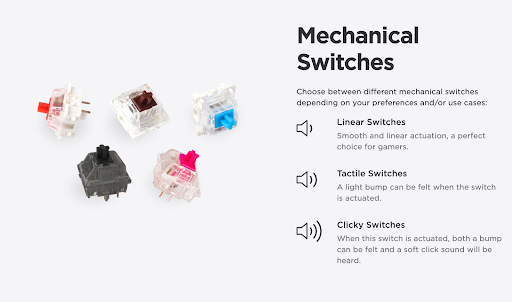
I think it’s safe to say my experience and prior knowledge was next to non-existent. To kick off this process, I took a jump down the rabbit hole of research! I’m someone who likes to get first-hand experience with a product before buying it–if something clicks, I want to hear it for myself. This brought me to good ‘ole YouTube. I decided to start easy and find a video explaining mechanical keyboards as a whole. Then I went to the next step to find a video explaining the different types of switches and comparison videos between them.
Here’s a quick playlist of videos I found helpful while doing my research:
https://www.youtube.com/watch?v=mf2eracUeGQ&t=258s https://www.youtube.com/watch?v=AywUPZIv6lU&t=505s https://www.youtube.com/watch?v=zlSPH3HvxhQ https://www.youtube.com/watch?v=_N7adWvQDM4 https://www.youtube.com/watch?v=s6SY7AQsyI0
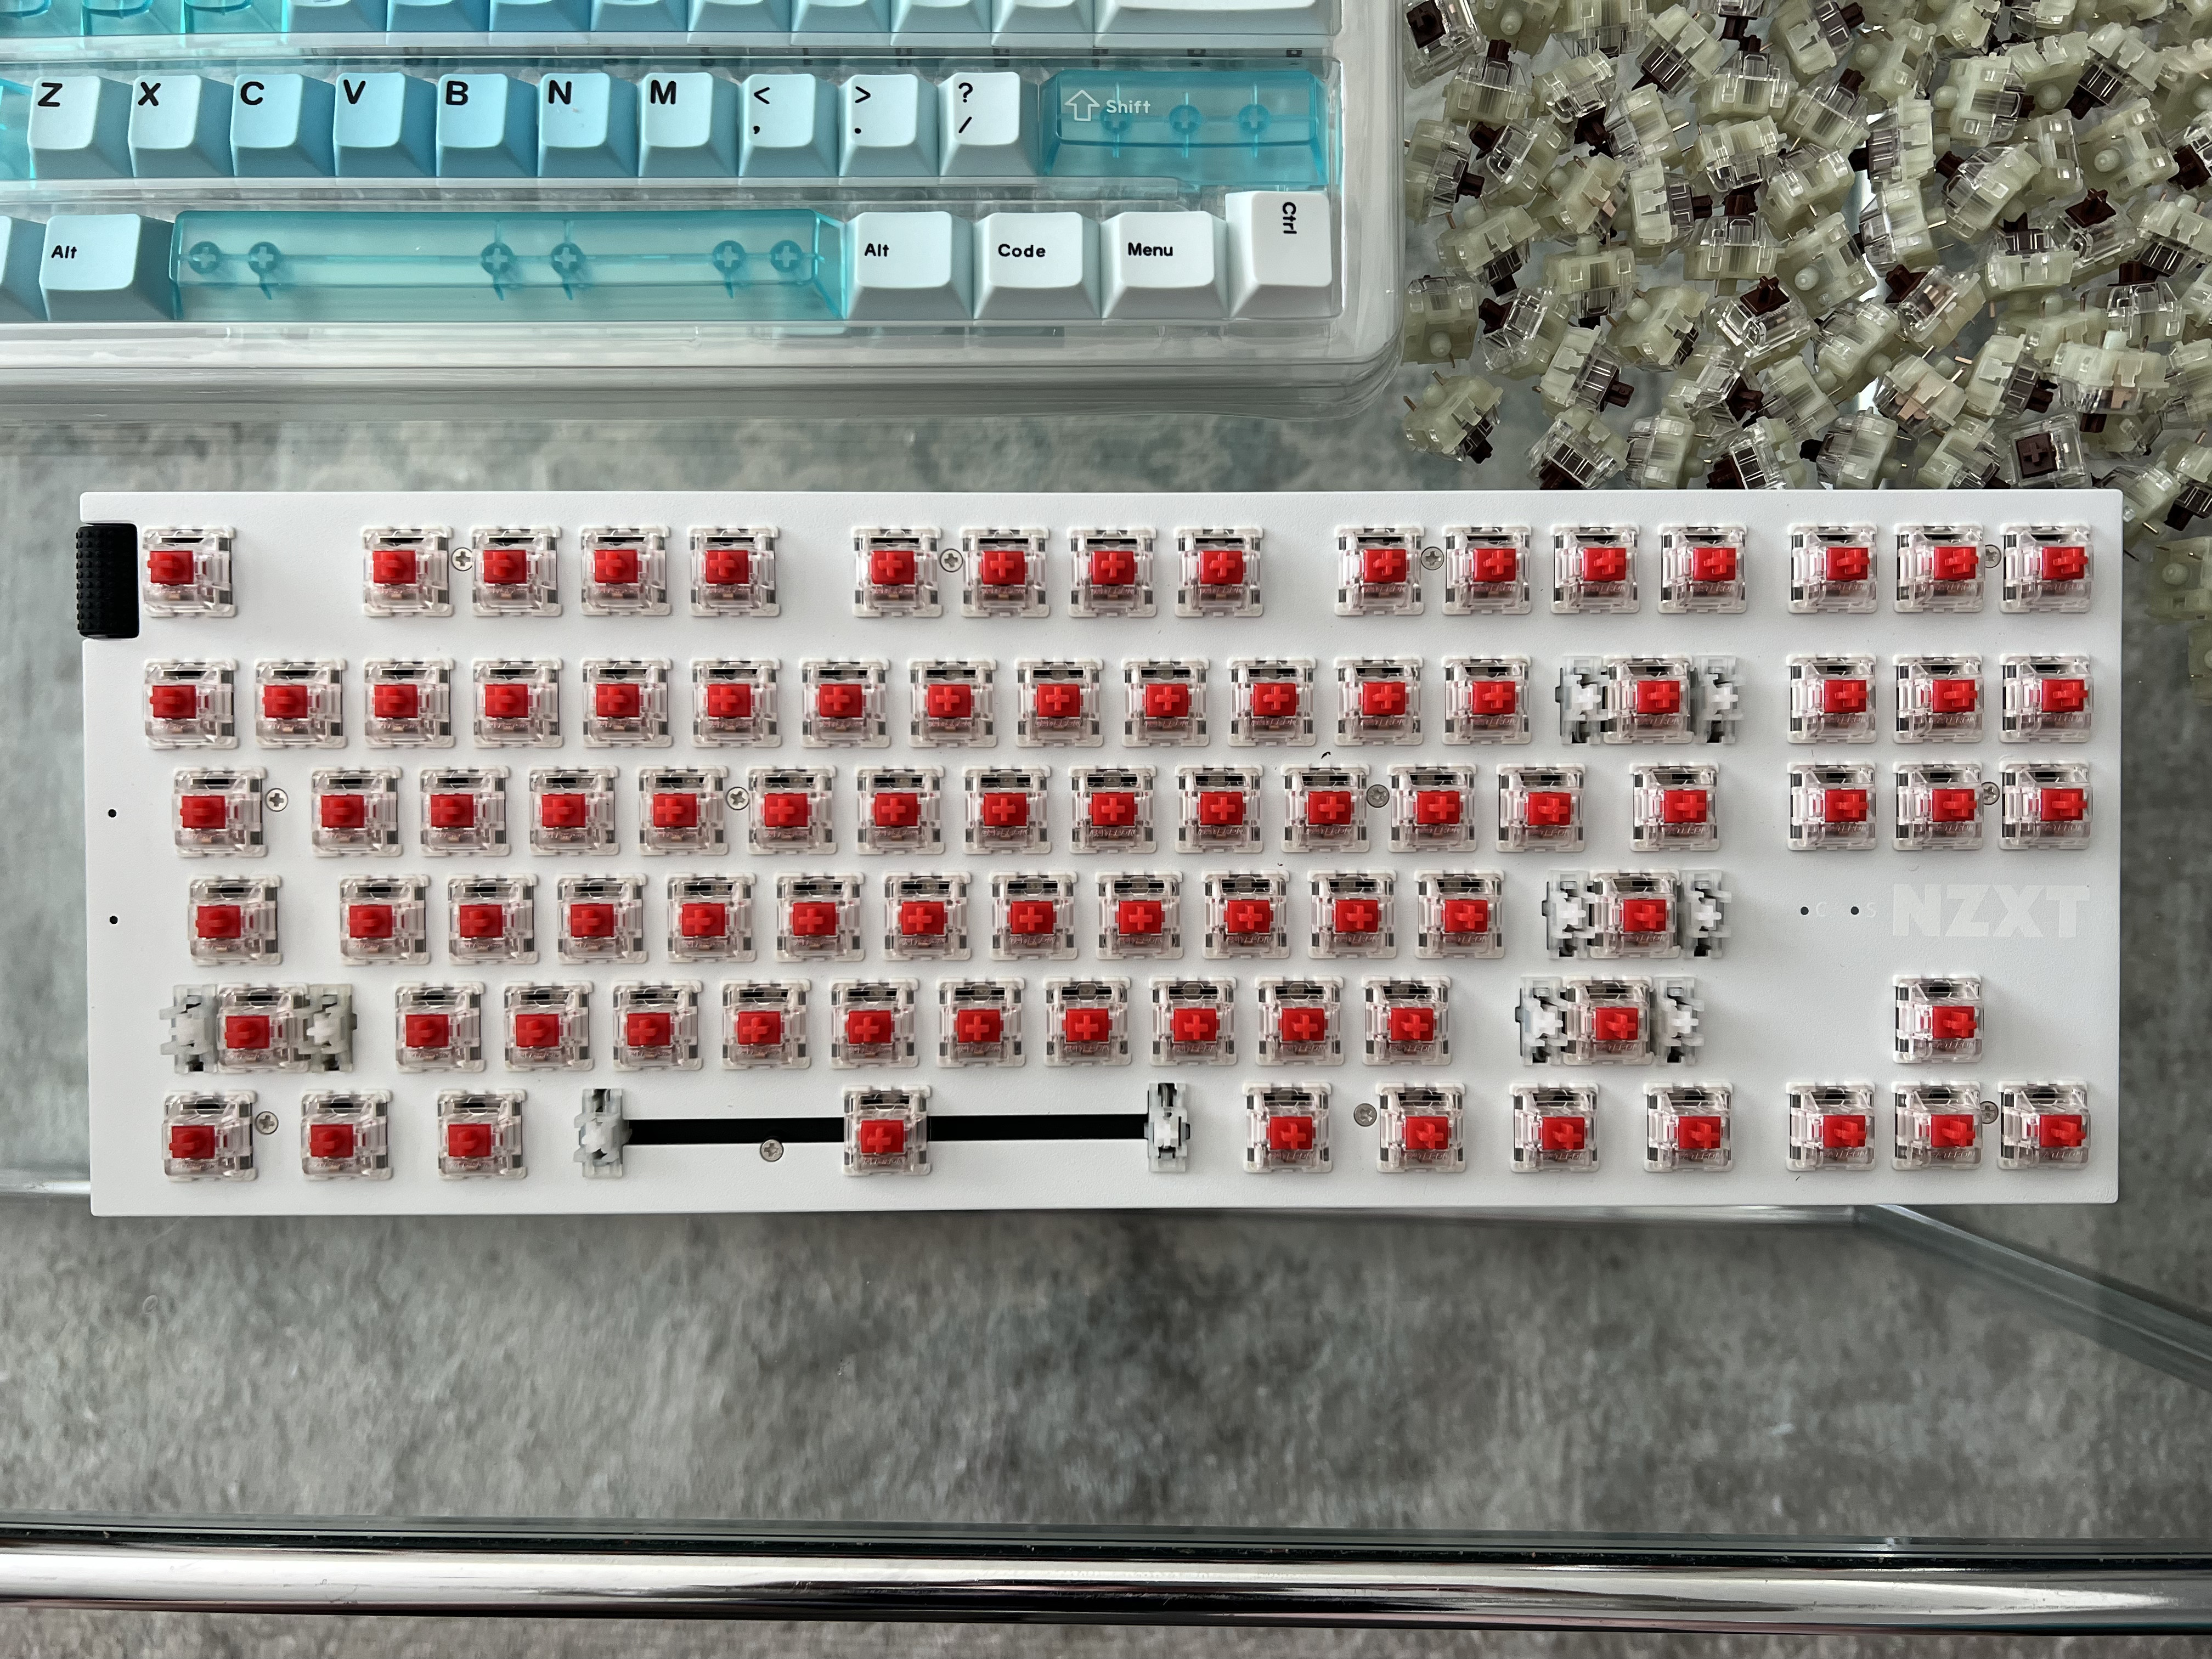
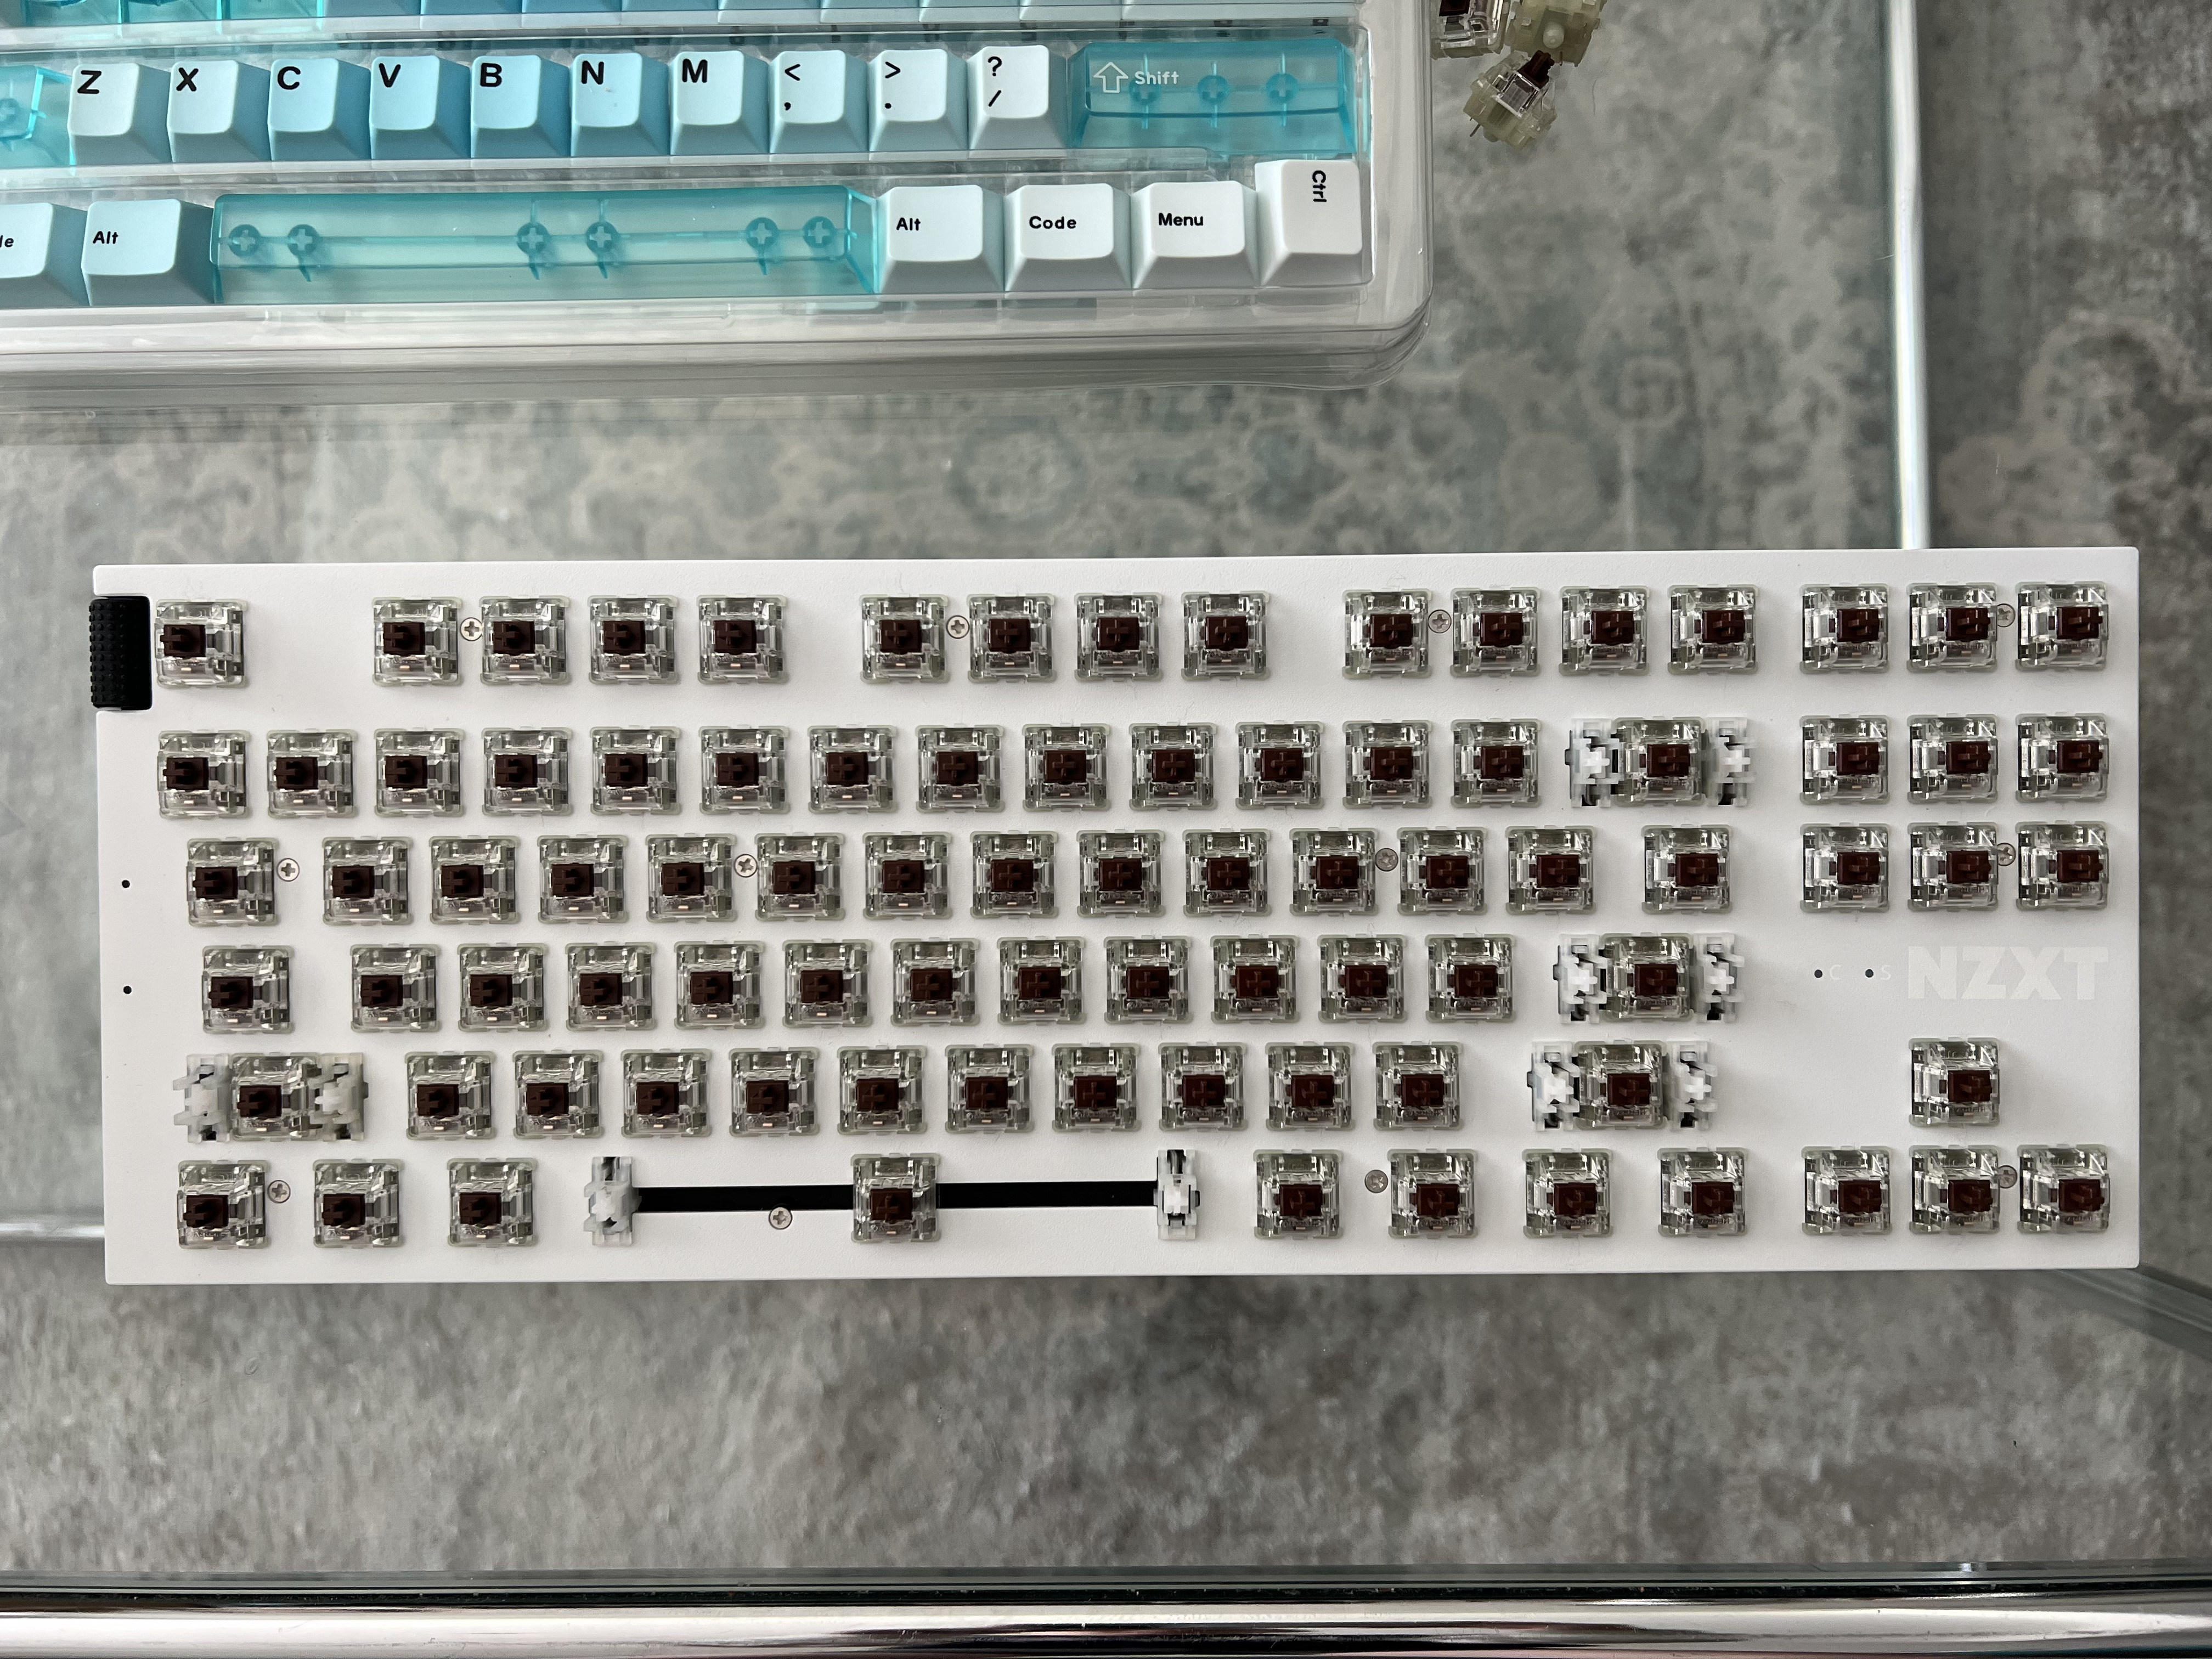
From my research, I’ve found I still like switches that are tactile and have noticeable feedback, but something that isn’t too noisy and distracting. The switches I went with are CHERRY MX Browns. I was between these and the CHERRY MX Blues, but thought they were a bit too loud for my preference. I found the browns to be a good middle ground!
Finding the Perfect Keycaps
My desk setup falls on the minimalist side of things. The desk is white, as well as my mouse which is a wireless one I love! The rest of the hardware on my desk is pretty simple–I have my two monitors, a Stream Deck (that I wish was white) a few lights, and my silver audio mixer. This led me to search for keycaps that would add a pop of color. When I want to spice things up, I tend to pick out pastels and lighter shades. My favorite color is turquoise and I wanted keycaps that would reflect that. I also wanted to mix and match two sets of keycaps not only for style but for function as well. I believed it would be really cool and could work with the WASD keys.
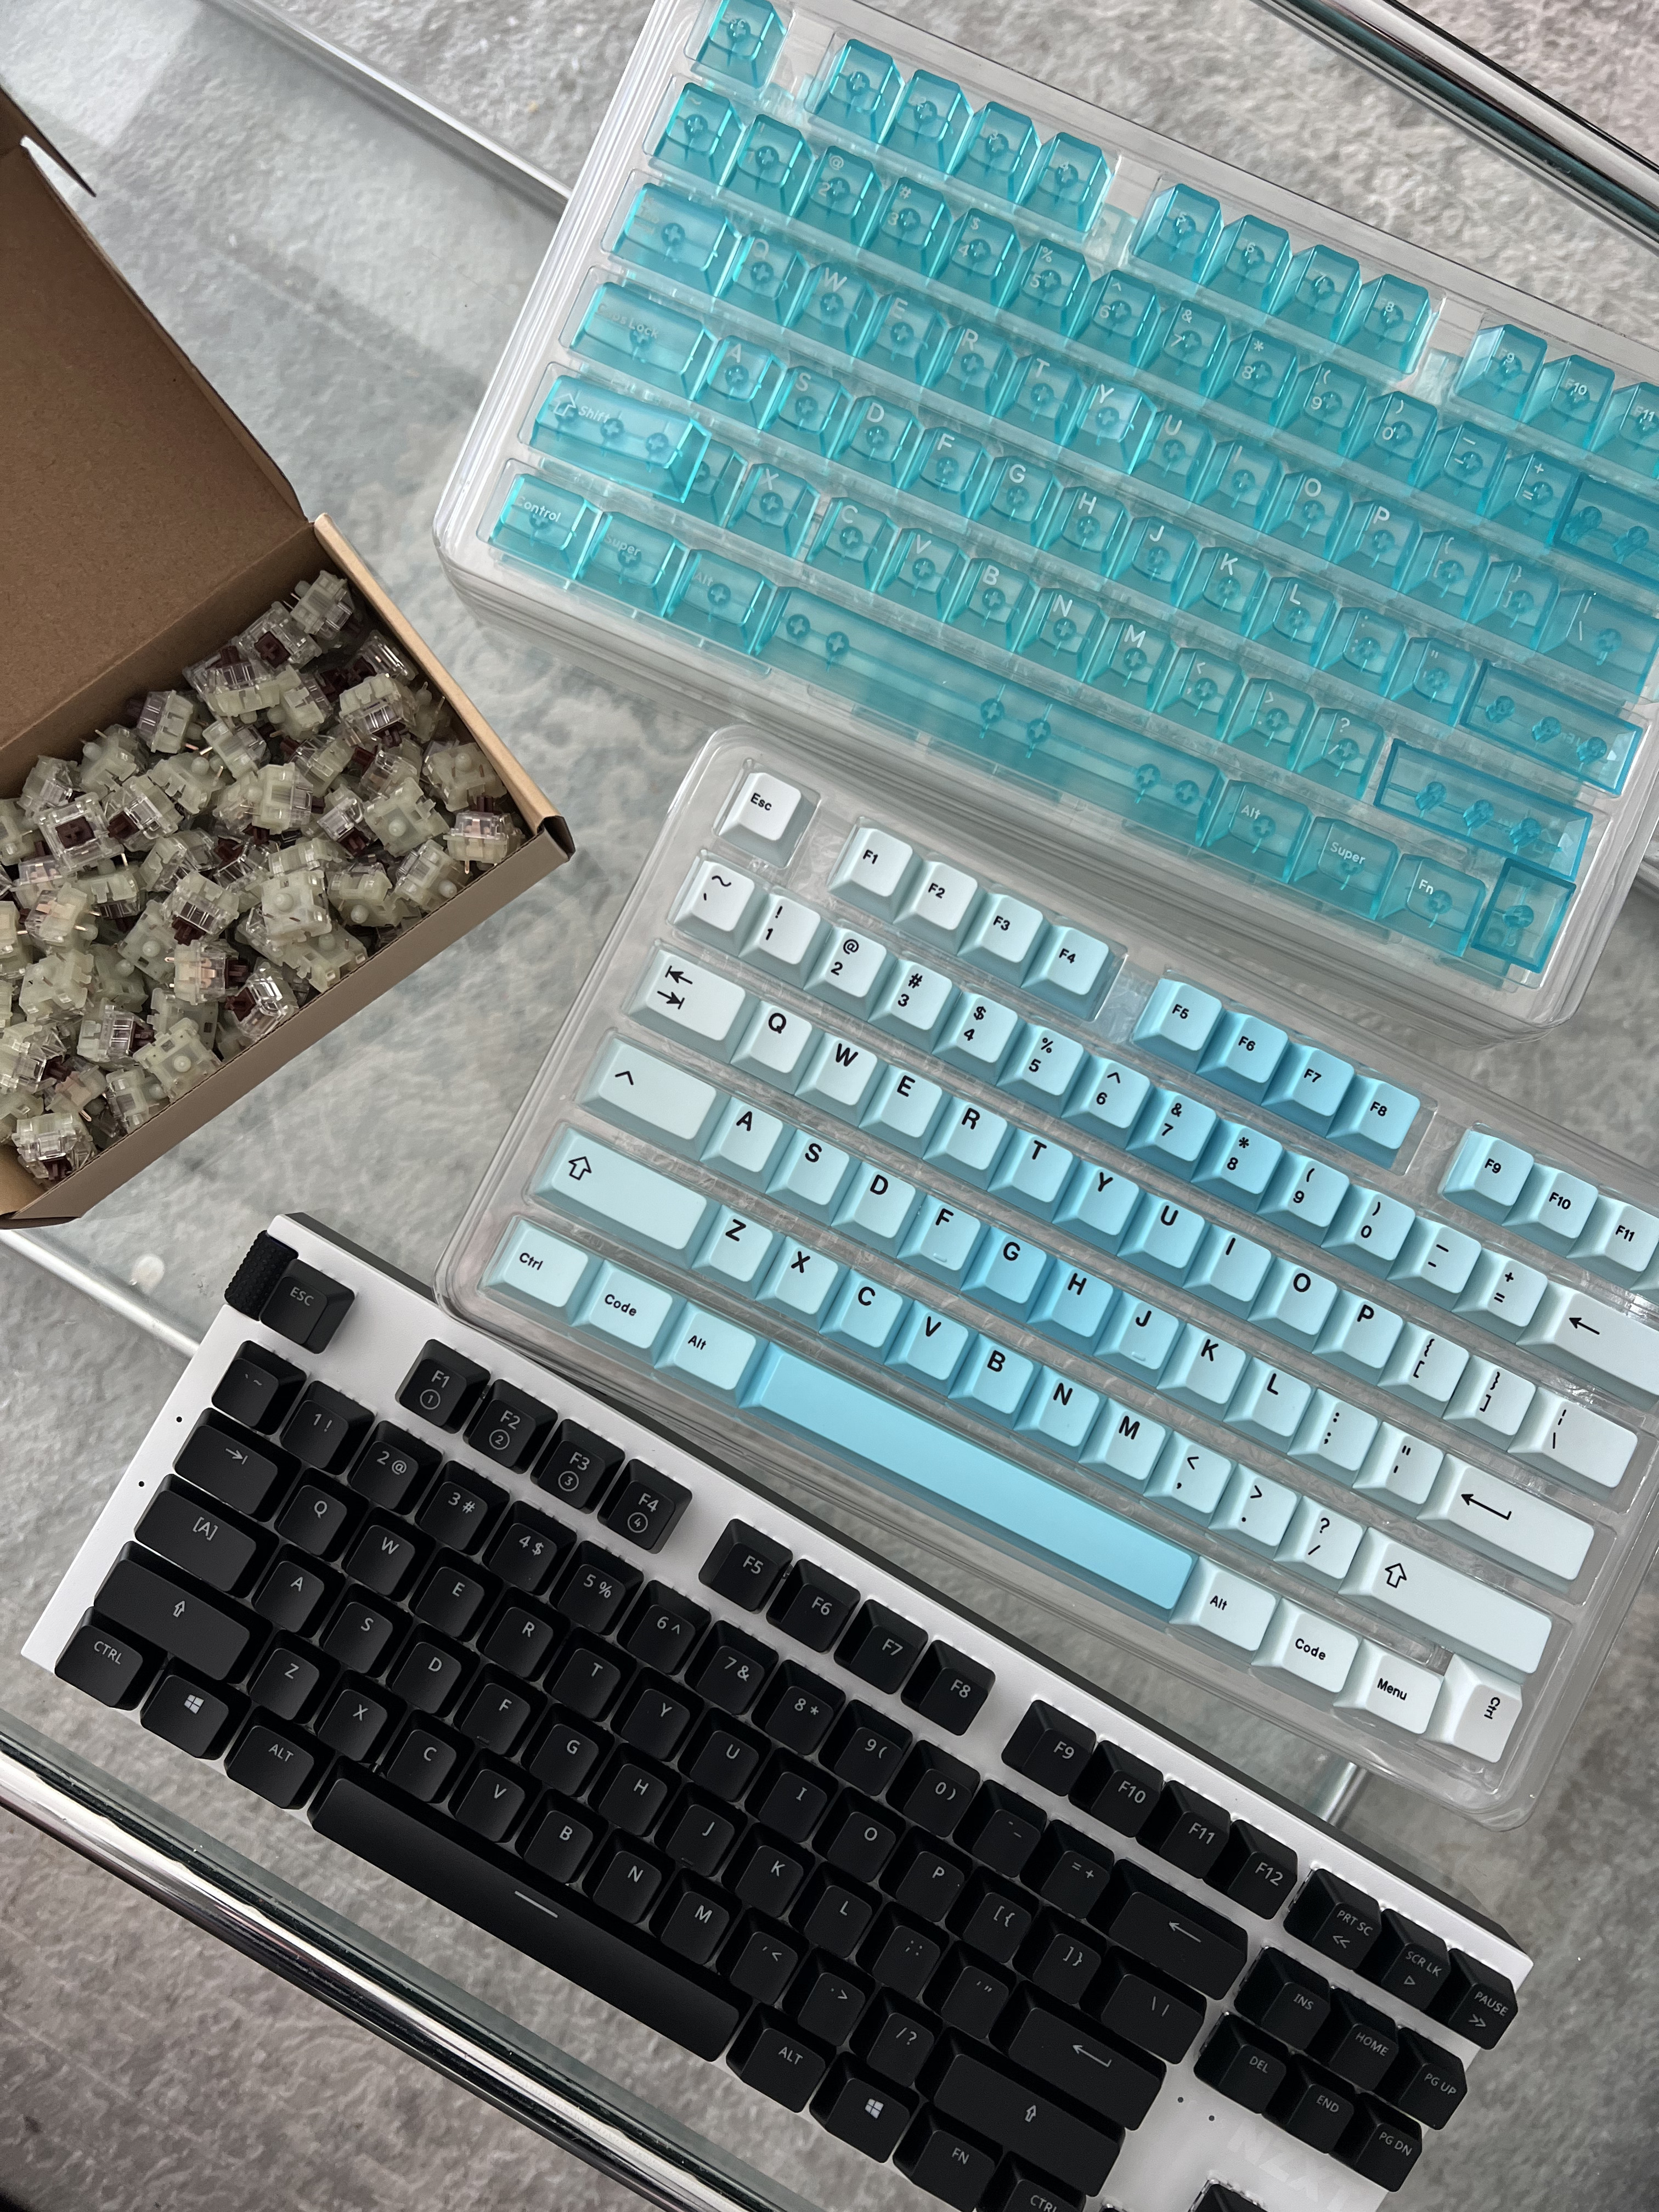
Here are the keycaps I used: https://drop.com/buy/artifact-bloom-series-keycap-set-ocean-wave https://drop.com/buy/keysterine-keycap-set
The first set of keycaps I picked out are an ombre design going from a pale, almost white blue to a pastel turquoise. I thought they’d be great for the main design and go well with the white keyboard.
I don’t know about you all, but I absolutely love the old transparent Nintendo consoles! To me, they are peak nostalgia. When I saw the transparent turquoise keycaps I immediately knew they would look awesome with the other ones I picked.
Assembly Time!
Since this was my first time building a keyboard or swapping out the switches and keycaps, I wasn’t sure how long it would take. I expected it to take a while since I had to plan out the design and remove everything, but it only took me an hour!
The NZXT Function Keyboard came with a keycap puller and switch puller tools. As someone who’s never gone through this process before, this was great to have! It also made taking out the switches easier.
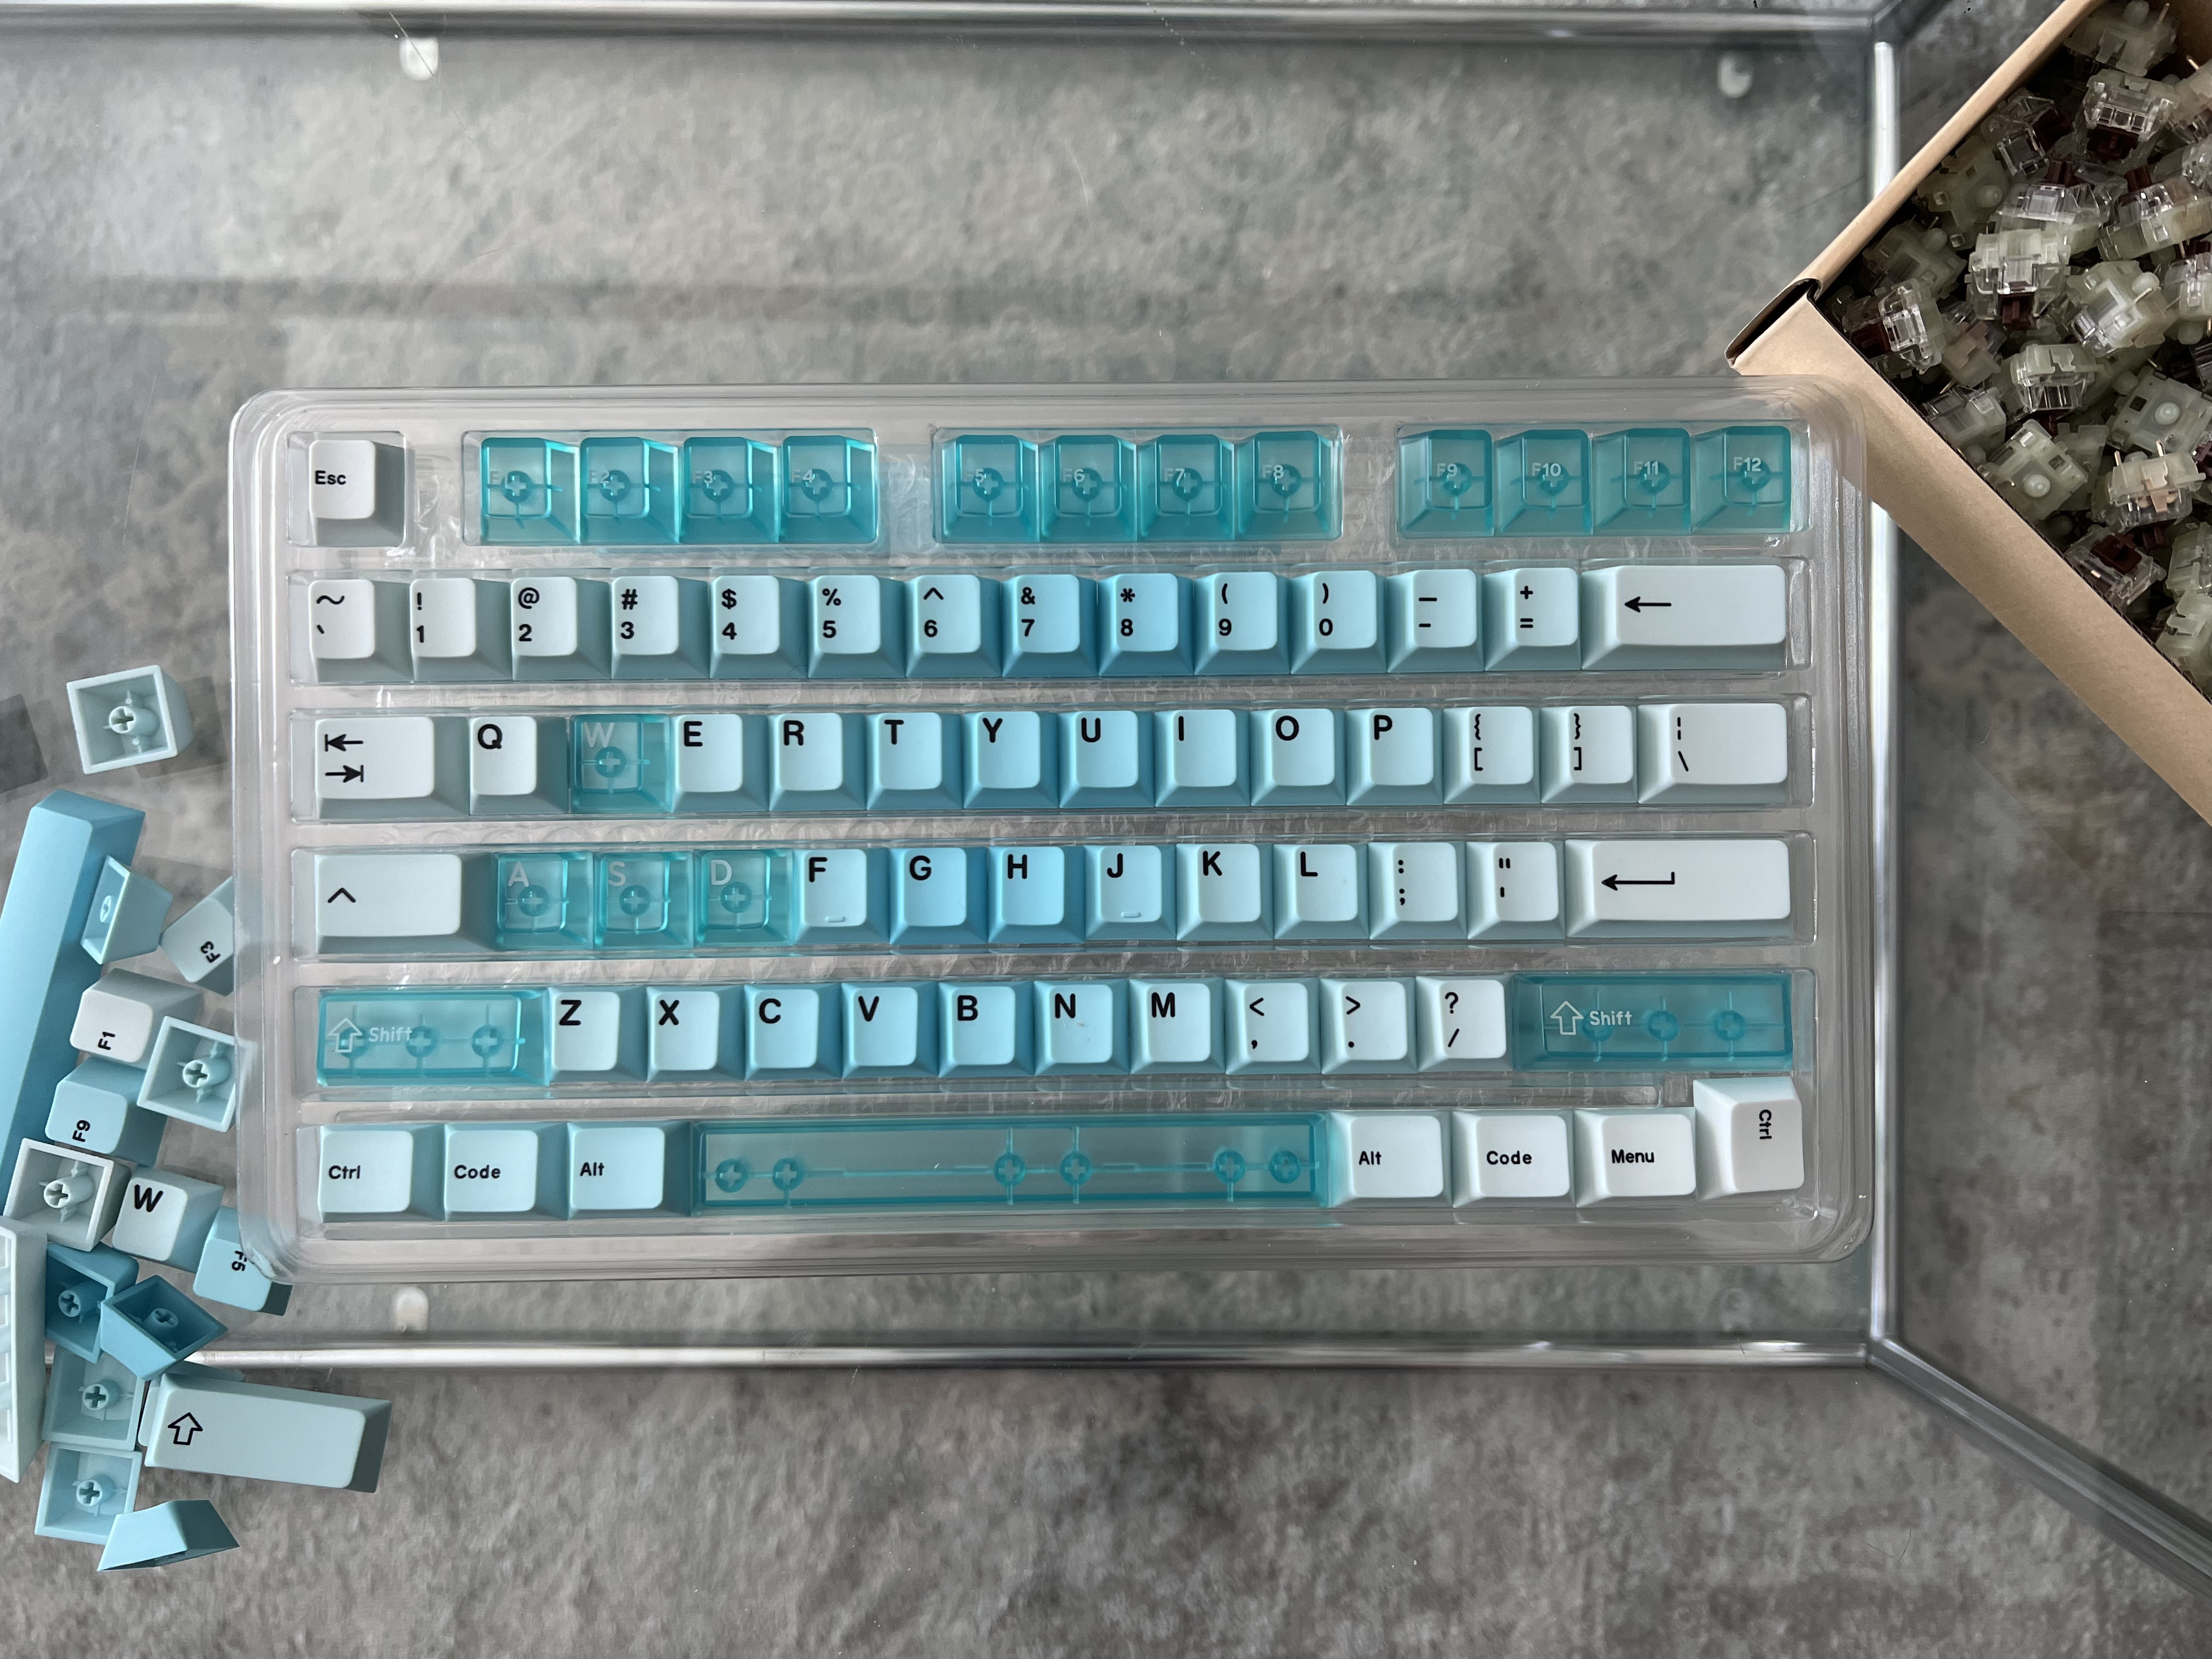
The first step of the building process was planning out the keycap design I wanted. I didn’t want to go right in with the removal and plan as I went. I’m a big planner in a lot of things I do, whether it’s picking out the meal I’m gonna have at a restaurant ahead of time or my next movie night days in advance, it’s a vital step for me.
Once I was happy with this layout, I grabbed my tools and got to work. Taking off the original keycaps was easy. They popped right off! The switches did require a little work because you had to get the tool under each of them, but it didn’t require too much force. The overall process was a breeze.
It was really fun choosing which switches would have the transparent keycaps! As I mentioned, I knew I wanted the WASD keys to have it and I also decided the space bar, function keys, and arrows would have them too.
Final Thoughts
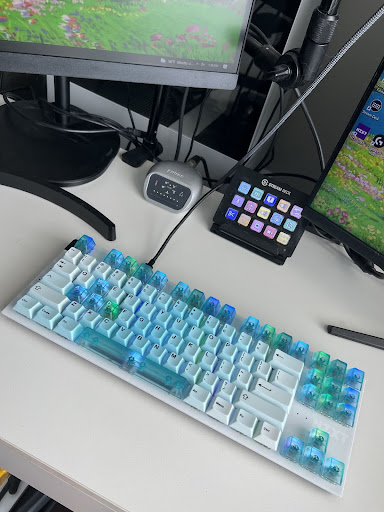
I am so happy with the way my keyboard turned out. I think it really showcases a bit of my personality and aesthetic in it. It’s my favorite color and fits perfectly in my setup!
The RGB function is also really fun! You can customize it in the NZXT CAM software. As soon as I plugged in the keyboard I opened it up and spent a solid five to ten minutes figuring out what I wanted. I decided to leave the idle light on white and a reactive ripple effect for when I type. There are a bunch of other settings too like fade and line, and it doesn’t have to be rainbow. It can be a solid color or even a gradient if that’s what you’re into.
The keyboard-building experience was overall really fun! I love that I can update the board with new keycaps, switches, and RGB colors whenever I want. I can add more transparent keys if I want, add a colored cable, and buy new pieces for the future.
Have you built a keyboard in the past? We’d love to hear about your experience! Let us know on Twitter, Discord, and Instagram.