Logga in
Artikel: How to Connect RGB Fans: Motherboard, Controller or Control Hub
How to Connect RGB Fans: Motherboard, Controller or Control Hub

Short answer: It depends on the connector. Most current NZXT fans plug straight into your motherboard: a 4-pin PWM cable for speed and a 3-pin 5V ARGB plug for lighting, with single-frame fans using the adapter in the box. F-Series RGB Core and RGB Duo fans need an NZXT controller for lighting. A Control Hub puts everything in CAM.
Every NZXT fan has two things to wire up: power and speed control for the motor plus data for the lighting. Which cables handle each depends on the fan model and what else is in your build.
Do your fans need a controller?
Find your fan below. "Optional" means a controller adds CAM control but the fan runs fine without one.
| Fan | Connector | Controller needed? | Motherboard only? |
|---|---|---|---|
| F120 RGB / F140 RGB | 4-pin PWM + 4-pin NZXT RGB or 3-pin 5V ARGB | Optional | Yes |
| F360 RGB / F420 RGB (and Reverse) | 8-pin NZXT PWM+RGB | Optional | Yes, with the included adapter |
| F120U / F140U | 4-pin PWM + 4-pin NZXT RGB or 3-pin 5V ARGB | Optional | Yes |
| F360U / F420U | 8-pin NZXT PWM+RGB | Optional | Yes, with the included adapter |
| F240 / F280 / F360 / F420 RGB Core | 8-pin NZXT PWM+RGB | Optional | Yes, with the included adapter |
| F120X / F140X | 4-pin PWM + 4-pin NZXT RGB with a 3-pin 5V ARGB pigtail | Optional | Yes |
| F240X / F280X / F360X | 8-pin NZXT PWM+RGB | Optional | Yes, with the included adapter |
| F120 / F140 RGB Core, F120 / F140 RGB Duo | 4-pin NZXT RGB | Yes, for lighting (included with multi-packs) | Fan speed only |
Older fans like the Aer RGB series may use the same 4-pin NZXT RGB connector or a dedicated one, so check the fan's manual. And if you're wiring a Kraken Core, note that it isn't compatible with any NZXT RGB controller. It runs on 5V ARGB, which we cover in how to install an AIO liquid cooler.
Connecting single-frame fans with the 8-pin cable
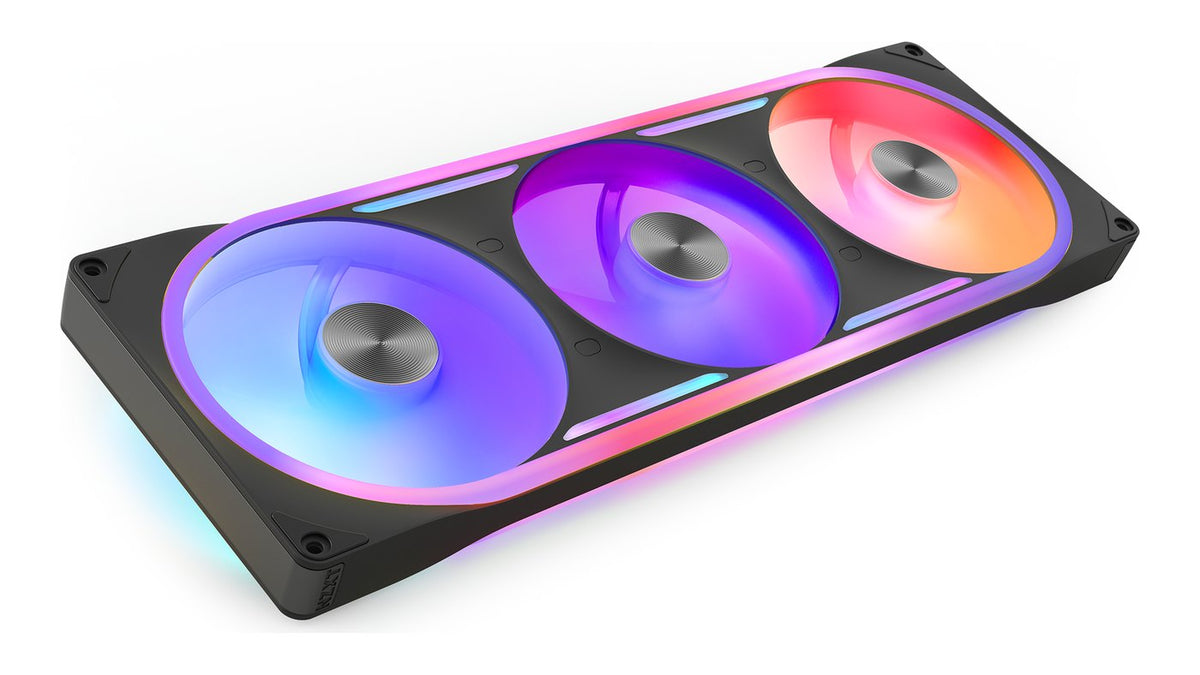
Single-frame fans like the F360 RGB Core or F420U carry three fans in one frame and run on a single 8-pin NZXT PWM+RGB cable. Line the connector up with an 8-pin port and push until it clicks. To remove it, squeeze the clip and pull.
The 8-pin cable also tells the controller which fan is attached, including its LED count and supported effects. These have 8-pin ports:
- NZXT Control Hub
- Kraken Elite (2024) and Kraken Plus (2024)
- H9 Flow RGB+, which ships with a Control Hub pre-installed
No 8-pin port? Every standalone single-frame fan includes an adapter that splits it into a 4-pin PWM plug and a 4-pin NZXT RGB plug with a 3-pin 5V ARGB pigtail.
Plugging NZXT fans into your motherboard
For fan speed, connect the 4-pin PWM plug to a fan header on your motherboard. For lighting, use the 3-pin 5V ARGB plug on an ARGB header.
This is the one rule you can't skip: never connect the 4-pin NZXT RGB plug and the 3-pin 5V ARGB plug at the same time. Doing that can seriously damage the fans, your motherboard or your controller.
Make sure you're on a 5V ARGB header and not a 12V RGB one. Our 5V ARGB vs 12V RGB guide shows how to tell them apart in about ten seconds.
Connecting to a Control Hub or RGB controller
A controller is what puts fan speed and lighting in one place in CAM. Weighing it against a cheap splitter? Read fan controller vs fan splitter first. The NZXT Control Hub runs up to five fans (single-frame units included) and syncs lighting on up to five NZXT RGB components. Plug 8-pin fans straight in. 4-pin fans use the included splitter cables, which carry 4-pin PWM and 4-pin NZXT RGB connectors.
Every NZXT controller needs two connections of its own: an internal USB 2.0 header on the motherboard for data and power from your PSU. On the older RGB & Fan Controller and the Control Hub Lite in the H6 RGB+, that's a 9-pin USB 2.0 header plus a SATA power cable.
Double-check this one on an H9 Flow RGB+. Its Control Hub uses an 8-pin (6+2-pin) PCIe cable, which your PSU may label PCIe or VGA. Don't use the 4+4-pin CPU cable (sometimes labeled EPS). The wrong one can damage the controller and other components immediately.
What about the fans that came with your case?
Most NZXT case fans have a 4-pin PWM plug and a 4-pin NZXT RGB plug with a 3-pin 5V ARGB pigtail, so they connect exactly like the standalone fans above. Some cases ship differently:
- H6 Flow RGB: the fans come with an NZXT RGB to 5V ARGB adapter already fitted. Plug them into an ARGB header or remove the adapter to use a controller.
- H9 Flow RGB: the included F420 RGB Core has an adapter pre-installed.
- H9 Flow RGB+ and H6 RGB+: a Control Hub or Control Hub Lite is already inside. Connect its USB 2.0 and power cables and the fans are ready for CAM.
Your case manual has the exact layout for your model. Still planning the build? Start with how many case fans you need.
Power limits: when one header isn't enough
Single-frame fans draw three fans' worth of power through one cable. Check the spec sheet numbers before sharing a header:
- F360 RGB: 6W. F420 RGB: 8.16W. F420 RGB Reverse: 9.6W.
- F360U: 10.8W. F420U: 12.36W.
A common motherboard fan header is rated for 1A (12W). An F420U goes past that on its own. An F360U fits but leaves almost no room for anything else on that header. The older RGB & Fan Controller cuts power at 10W per channel, so neither will spin there at all. Run single-frame fans from a Control Hub (it's built for them) or a header rated for more power. Our fans per header guide walks through the math.
Can you daisy-chain NZXT RGB fans?
Not F-Series RGB fans. Each needs its own lighting connection, direct or through a controller splitter. Single-frame fans sidestep this with three fans on one cable.
Older Aer RGB 2 fans can chain with each other and with NZXT LED strips, RGB Underglow and cable combs, up to 40 LEDs per channel. The Underglow and cable combs always go last. At 8 LEDs per Aer RGB fan, that's five fans.
Getting your fans into CAM
Once the controller has USB and power, open NZXT CAM. The controller shows up automatically along with every NZXT fan connected to it.
- Lighting: each RGB device appears on its own, so you can give every fan a different effect or sync them all.
- Cooling: fans are controlled per channel. Fans on one splitter share a speed setting.
Fans on an NZXT motherboard's ARGB header are added in CAM's Lighting tab like any ARGB device, with the LED count entered by hand. On a controller's NZXT RGB or 8-pin ports, NZXT fans configure themselves.
Frequently asked questions
Can I use NZXT RGB fans with a non-NZXT motherboard?
Yes. Use the 4-pin PWM cable on a fan header and the 3-pin 5V ARGB plug on the board's ARGB header (single-frame fans go through the adapter). Lighting is then controlled by your motherboard's RGB software instead of CAM.
I'm out of USB 2.0 headers. Can I still add a controller?
Yes. Use an active USB hub like the NZXT Internal USB Hub (Gen 3). Simple PCB splitters may not deliver enough power or bandwidth for the controller to show up properly.
Why is one of my fans showing 0 RPM?
If you're using a splitter, one fan has to be on the splitter's single 4-pin connector. Without it, that header reports 0 RPM. If that's sorted, swap in a fan you know works to find out whether the fan or the header is the problem.
My controller doesn't show up in CAM. What now?
Check that both the USB 2.0 and power cables are seated, then work through what to do when NZXT CAM isn't detecting your device. If CAM can't see the controller, it can't see the fans behind it.
Do Ultra RGB fans need a Control Hub?
No. They run on a motherboard's 5V ARGB header for basic lighting. Full multi-zone control in CAM comes through a Control Hub or a compatible NZXT motherboard.
Still stuck?
Tell us your fan models, your case and what you're connecting them to. We'll map it out. Reach our team at NZXT Support.
Fewer cables to connect

F420 RGB Core
Three 140mm fans in one frame on a single cable. Connect it to an NZXT controller for CAM control or to any motherboard's 5V ARGB header with the included splitter cable.
See the F420 RGB Core