Connexion
How to Install an AIO Liquid Cooler, Step by Step

Short answer: Fit the backplate and standoffs for your socket, then screw the pump cap down in an X pattern. Mount the radiator in the top of the case with the fans as exhaust. Plug the pump into AIO_PUMP and the fans into CPU_FAN or SYS_FAN. If the pump runs off a header, set it to full speed in the BIOS.
An AIO looks like a lot of parts out of the box, but the install comes down to the same few jobs every time. This guide uses the Kraken Core as the example. Other coolers follow the same order, so keep your manual open for the exact screw names.
What do you need before you start?
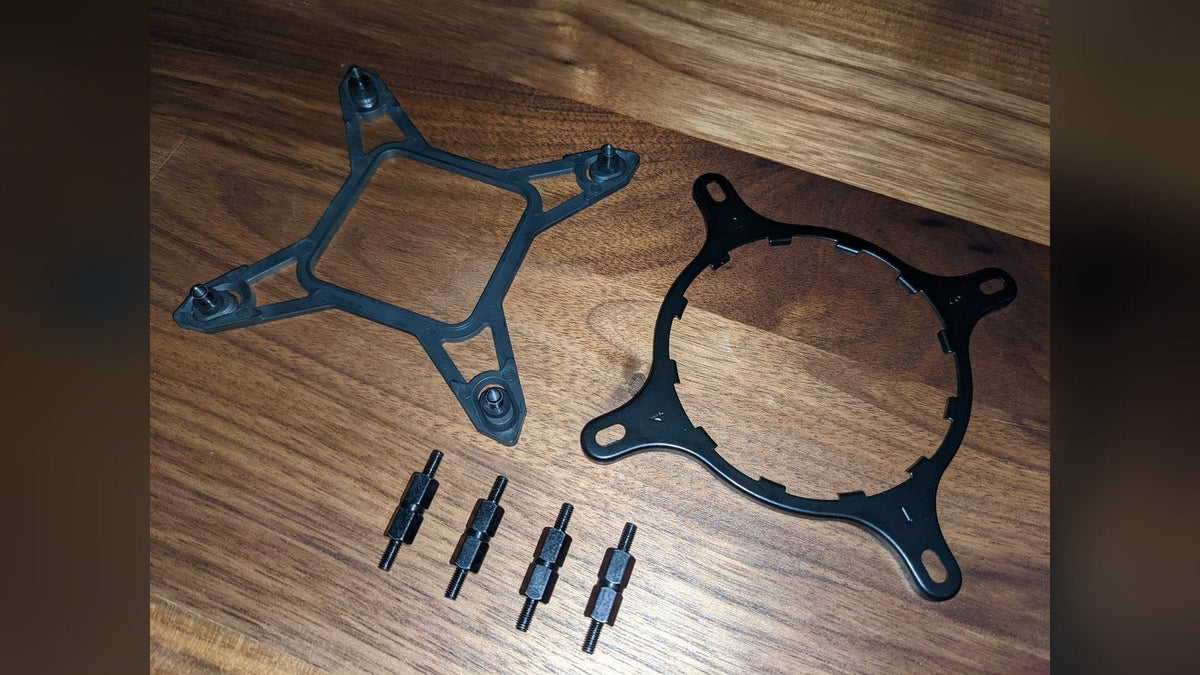
You only use the mounting parts for your socket, so sort them out of the accessory bag first:
| Socket | Parts you use |
|---|---|
| Intel LGA 1851 / 1700 | LGA 1851/1700 backplate, 1851/1700 standoffs, pre-installed Intel bracket, four retention screws |
| Intel LGA 1200 / 115x | LGA 1200/115x backplate, 1200/115x standoffs, pre-installed Intel bracket, four retention screws |
| AMD AM5 / AM4 | AM5/AM4 retention bracket, AM5/AM4 standoffs, four retention screws. No backplate, since you reuse the motherboard's own |
Other sockets, like Intel 2066 or AMD TR4, aren't officially supported. Also confirm your case takes your radiator size where you want it. Our AIO size guide covers how to check.
Step 1: Install the backplate and standoffs
This step is easiest before the motherboard goes in the case. If it's already installed, most cases have a cutout behind the socket for exactly this.
On Intel, line the backplate up with the holes behind the socket. It has two strips of pre-applied 3M tape to hold it in place. That tape is one-time use and bonds hard, so check you've got the right plate and that it lines up before you peel the backing. Then screw the short side of each standoff onto the posts poking through on the socket side.
On AMD, unscrew the stock mounting clips on either side of the socket and screw the AM5/AM4 standoffs onto the posts they leave behind. On AM4, swap one clip at a time so the motherboard's backplate can't fall off the back.
If the motherboard isn't in the case yet, install it now before moving on.
Step 2: Mount the pump cap
AMD builds need one extra step first. The Kraken Core ships with the Intel bracket fitted, so pull it off the cap and press the AM5/AM4 bracket into the same slots.
Take the plastic cover off the cap. Every Kraken ships with thermal paste already applied, so there's no paste to add. Line the cap up with the four standoffs with the tubes on the right of the socket. Start all four retention screws loosely, then tighten them in an X pattern so the pressure on the CPU stays even.
Step 3: Fit the fans and the radiator
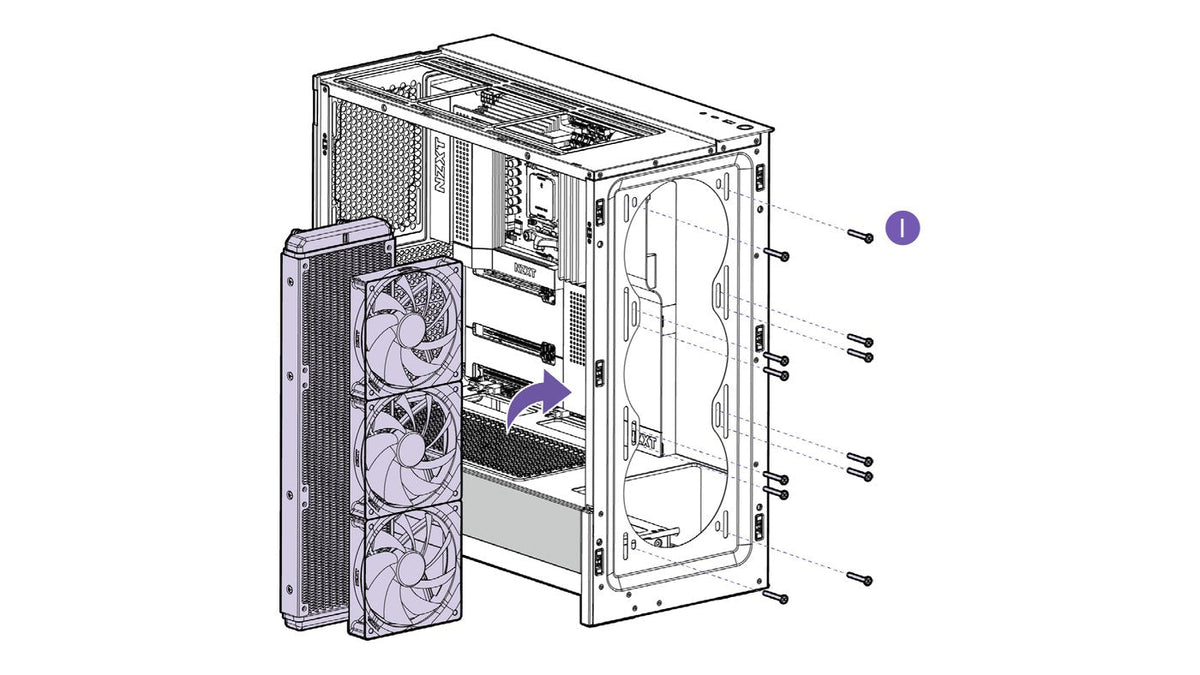
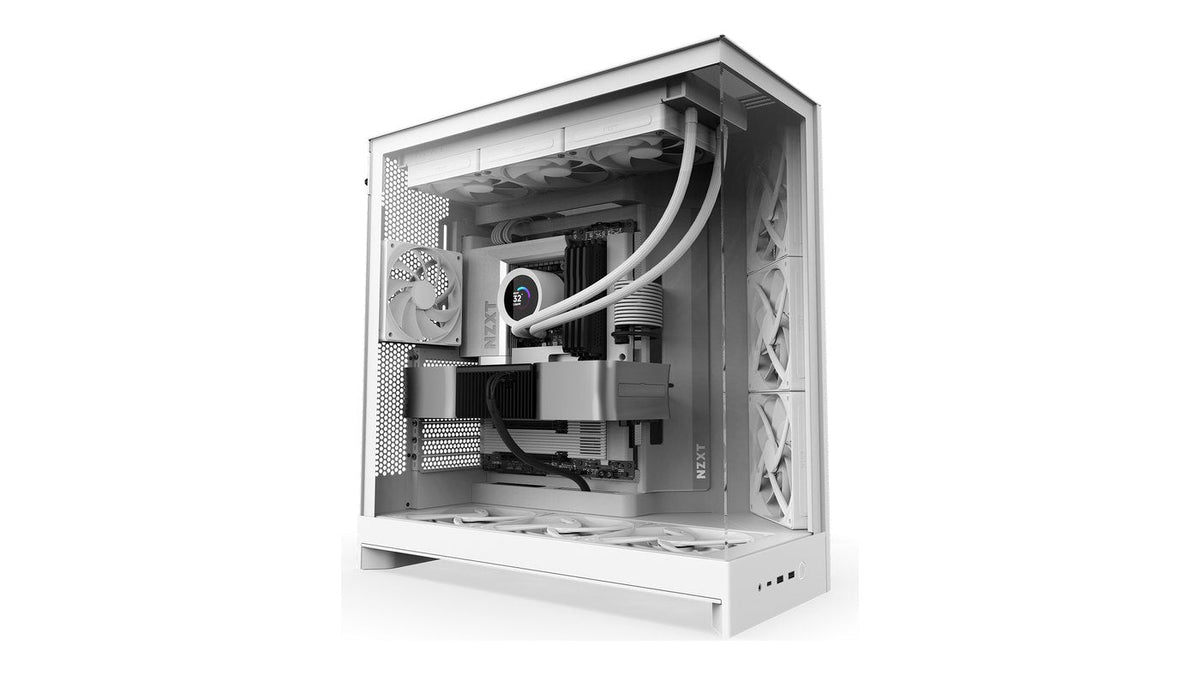
The best spot is the top of the case with the fans as exhaust. The front is next best. Either way, the highest point of the radiator has to sit above the pump cap so air can't collect in the pump. Our radiator mounting guide explains why and covers tubes-up versus tubes-down.
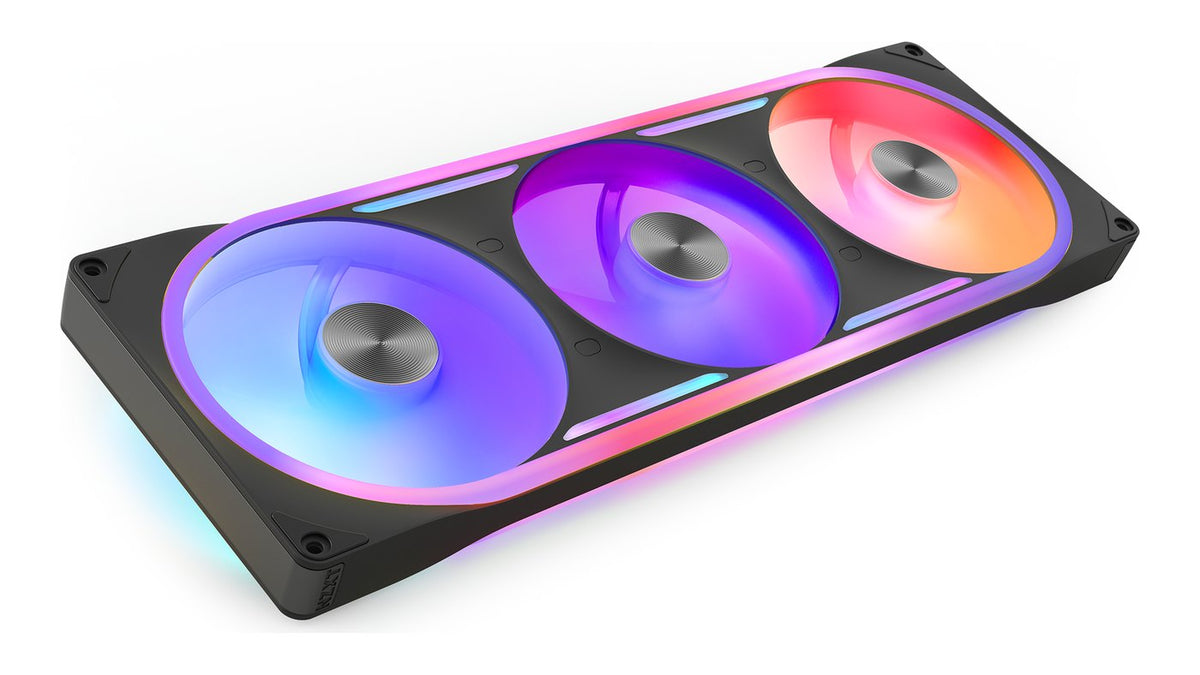
Top mount: screw the fans to the radiator with the long screws before it goes in the case. For exhaust, the side of the fan that blows air faces the radiator. On the Kraken Core's fans, that's the closed side with the motor spokes showing. Then fix the radiator to the case with the short screws and washers.
Front mount: the fans sit between the case and the radiator. Run the long screws through the case, through the fans and into the radiator. If the case holes are wider than the screw heads, put a washer on each screw first.
Step 4: Plug in the pump and fans
| Cable | Plug it into | If that header isn't there |
|---|---|---|
| 3-pin pump connector | AIO_PUMP (also called CPU_OPT or CPU_FAN2) | CPU_FAN |
| 4-pin PWM fan connector | CPU_FAN or SYS_FAN (also called CHA_FAN) | If the pump took CPU_FAN, use SYS_FAN |
Coolers with a screen or CAM control, like the Kraken Elite and Kraken Plus, wire up a little differently. They also take SATA power from the PSU and an internal USB connection. Their 3-pin cable only reports pump speed. Our guide to CPU_FAN versus AIO_PUMP covers every case.
Step 5: Connect the lighting
The Kraken Core's lighting runs on 5V addressable RGB (ARGB). Plug it into a 5V ARGB header on the motherboard. Depending on the brand, that header might be labeled ADD_HEADER, JRAINBOW, D_LED or ADD_GEN2. Never connect it to a 12V RGB or UART header. That can permanently damage the cooler and your PC. The warranty doesn't cover it either. Our 5V ARGB vs 12V RGB guide shows how to tell the headers apart.
The fan's lighting can go on its own ARGB header, which lets you run different effects on the cap and fan. Or plug it into the male connector on the pump cap's cable so the whole cooler runs off one header. That's tidier, but the cap and fan then share the effect of the first 19 LEDs.
Step 6: Set the pump speed in the BIOS
The Kraken Core's pump is powered by the motherboard header, so the BIOS sets its speed. Press F2 or Delete on the startup screen, then find the fan settings. On NZXT motherboards they're in the PC Monitoring tab under Fan Configuration. If the BIOS opens in Easy Mode, switch to Advanced Mode first.
Set the pump header to Full Speed. Some boards call it 100%, Fixed or a custom curve held at 100%. The pump is designed to run flat out all the time, so lower settings can wear it out. The fans are yours to tune: Silent or Standard suits most builds. Choose Save Changes & Exit and you're done.
The lighting is controlled by whatever software runs the header you plugged it into. On an NZXT N-Series motherboard that's CAM, where you set the LED count for the header first: 19 for the cap, 16 for the Kraken Core 240 RGB fan and 24 for the 360 fan. If you daisy-chained the fan off the cap, use 19 on the 240 and 24 on the 360.
How do you know the install worked?
Check the pump header shows an RPM reading in the BIOS, not 0 or N/A. Then watch your CPU temperature at idle and in a game. If it looks high, our guides on checking for overheating and diagnosing a failing AIO will help you find the cause.
Frequently asked questions
Do I need to apply thermal paste to a Kraken?
Not on a first install, since every Kraken ships with paste already on the cold plate. If you ever remount the cooler, clean off the old paste and apply fresh.
Should I install the cooler before or after the motherboard goes in the case?
Fit the backplate and standoffs with the board on your desk if you can. The pump cap and radiator go on once the board is in the case.
Which way should the fans face on a top-mounted radiator?
They should exhaust, pushing air through the radiator and out the top of the case. On the Kraken Core fans, the closed side with the motor spokes is the side that blows air, so that side faces the radiator.
Does the Kraken Core show up in NZXT CAM?
No. It isn't a CAM-powered device, so the pump and fan speeds live in the BIOS. On an NZXT N-Series motherboard, CAM can still run its lighting through the board's ARGB headers.
Why do my Kraken Core fan speeds jump around in the BIOS?
Some early Kraken Core units report jumpy RPM readings. It's a quirk of the speed sensor's reporting, while the fans themselves spin steadily. Readings within about 10% of the set speed are normal, for example 2400 RPM plus or minus 250 at 100%. We dug into it in why Kraken Core fan readings look jumpy.
Need a hand?
If something doesn't line up or the pump isn't reporting a speed, NZXT Support can walk you through it for your exact cooler and motherboard.
If you are still choosing

Kraken AIO liquid coolers
Every Kraken comes with thermal paste pre-applied. Pick the Kraken Core RGB for a build with no extra cables to run. The Kraken Plus and Kraken Elite add an LCD screen and fan control in CAM.
See Kraken coolers